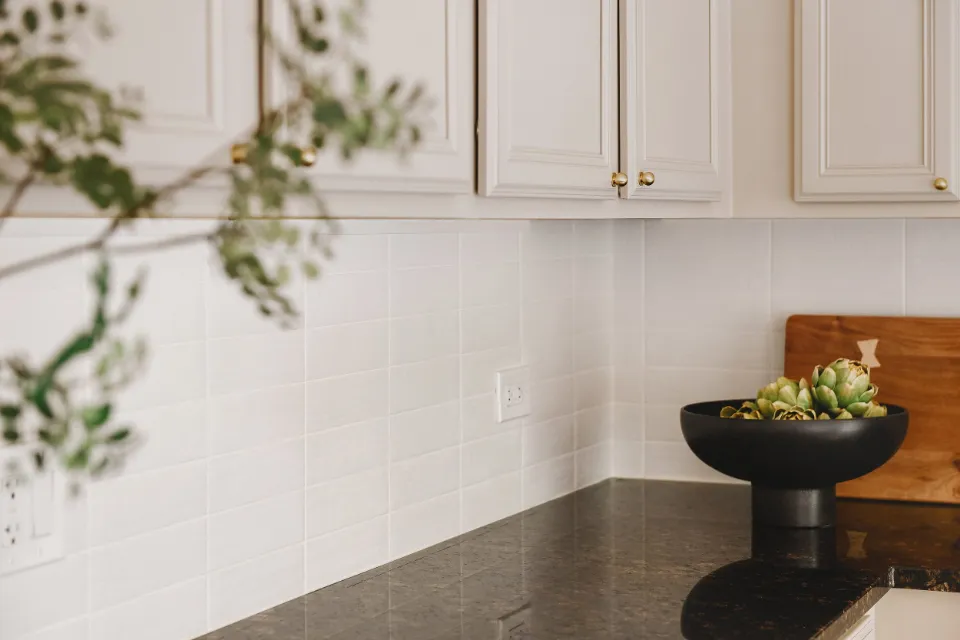
Your kitchen will look more appealing after completing this daylong DIY project. For a new kitchen finish, we’ll demonstrate cutting, installing, and grouting ceramic tiles.
More than just a way to enhance the look of your kitchen, installing a backsplash has many other benefits. An easy-to-clean backsplash is sensible if you’ve ever accidentally removed your mixer from a bowl of batter a little too early. Better yet, it’s a quick home improvement task; you can have a new tile backsplash installed in just one weekend, with all of its beauty and practical benefits.
I’ll be teaching you how to tile a backsplash for your kitchen today! Read the step-by-step guide below.
Step 1: Prepare the Workspace
We must set up the workspace before beginning any work. This entails shielding your counters, organizing your materials, mixing batches of tile, and setting up temporary ledger boards as required.
- Keep your countertops safe. Kraft paper and painter’s tape were used to securing it.
- Seize a trowel and mastic!
- I opened and mixed them all together because the appearance of tile can vary slightly from box to box, making the finished project have a more uniform appearance.
- Install a temporary ledger board whenever there is a gap in the countertop when using mastic. This provides a resting place for the tile while the adhesive cures. With the countertop on either side, we leveled a scrap piece of wood using. It can be fixed in place with a few drywall screws.
Step 2: Plan Your Tile Design
It’s crucial to choose where to place the first tile rather than beginning on one end or the other. Picking a central piece of furniture for the room, like a stove, and then tiling outward and upward from there is a good rule to follow.
It can also be helpful to “dry lay” your tiles (seen below) to ensure there aren’t any too-small cuts on either end. An instant visual is very helpful!
Step 3: Clean the Walls
Start by shutting off the kitchen’s electricity and taking off any outlet covers or switch plates. Tile can be applied to drywall, but remove any wallpaper or loose paint. In order to ensure good adhesion, sand the wall to remove any flaws.
To get rid of any stubborn grease stains or leftovers, use trisodium phosphate (TSP). Then, before beginning to tile, thoroughly dry the walls by wiping them down with a damp cloth.
Step 4: Apply Mastic and Set the Tile
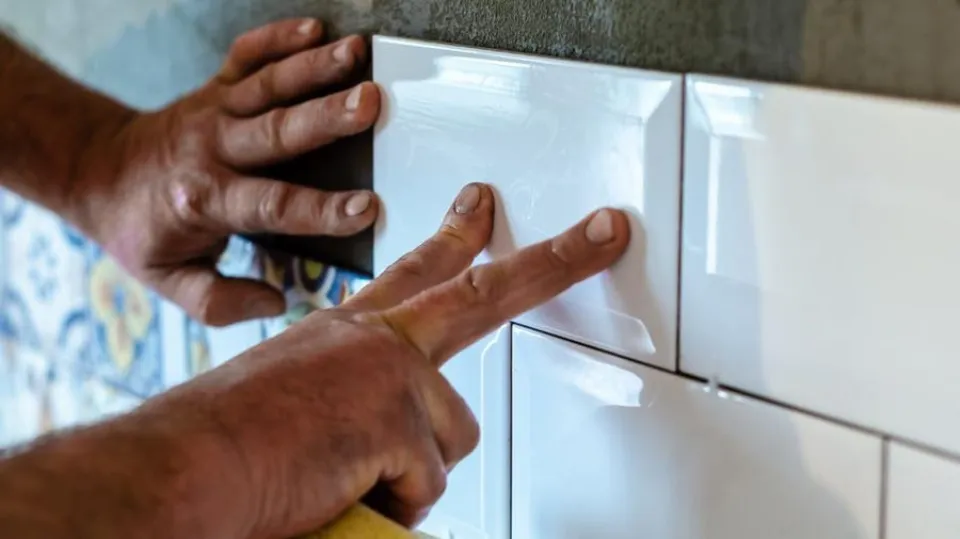
Although preparation is only half the work, it is essential to use that time to position yourself for success. Time to start tiling now! I troweled straight lines in the same direction as I tiled, applying no more pre-mixed mastic than I could cover in five minutes at a time.
It’s also helpful to apply mastic to the back of the tile – this is called ‘back buttering’ – before firmly pushing the tile into place. Between each tile, I used 1/16″ spacers to create a neat, consistent result.
In order to allow for movement, it’s crucial to leave a tiny space between the countertop and the first row of tiles. (But don’t worry, we’ll caulk this later.) Never forget to check the level as you go to make sure your lines aren’t going up or down hills!
Step 5: Make Your Cuts on the Wet Saw
I’ll make good on my word—using a wet saw is a blast! Simply use your marker to mark the areas where cuts need to be made; the wet saw will naturally wash the ink away.
A wet saw operates as follows: While the saw is running, a small pump in the water reservoir keeps the diamond-tipped blade moist. To make a cut, simply adjust any guides on the tray and push the tile through.
Step 6: Frame Your Work
Most of the time, you’ll come to a point where you’ll have to choose how to cover any exposed tile edges. In our case, we used marble pencil tile to create a frame along the top and edge. You can choose a metal or contrasting pencil to add a little pop, or you can choose a bullnose option from some tile collections.
Step 7: It’s Time to Grout!
After the thin-set mortar has dried (typically after 12 hours), mix the grout. By sweeping the grout float across the tiles in a vertical, horizontal, and diagonal motion, work the grout into all the joints. Grout should be used to fill in all spaces between the tiles. No air bubbles, gaps, or holes should exist.
Step 8: Remove Any Grout Haze
After grouting your tile backsplash, repeatedly wipe the tile with a damp (not wet) sponge to remove any remaining grout. Use a clean, dry cloth to wipe away any haze that remains on the tiles after the grout has dried, as directed by the manufacturer.
Step 9: Seal Tile Grout
For easy maintenance down the road, apply grout sealer. The possibility of staining will decrease. To finish installing your tiles, caulk the joint where the backsplash and upper cabinets meet.
Conclusion: Tile a Backsplash
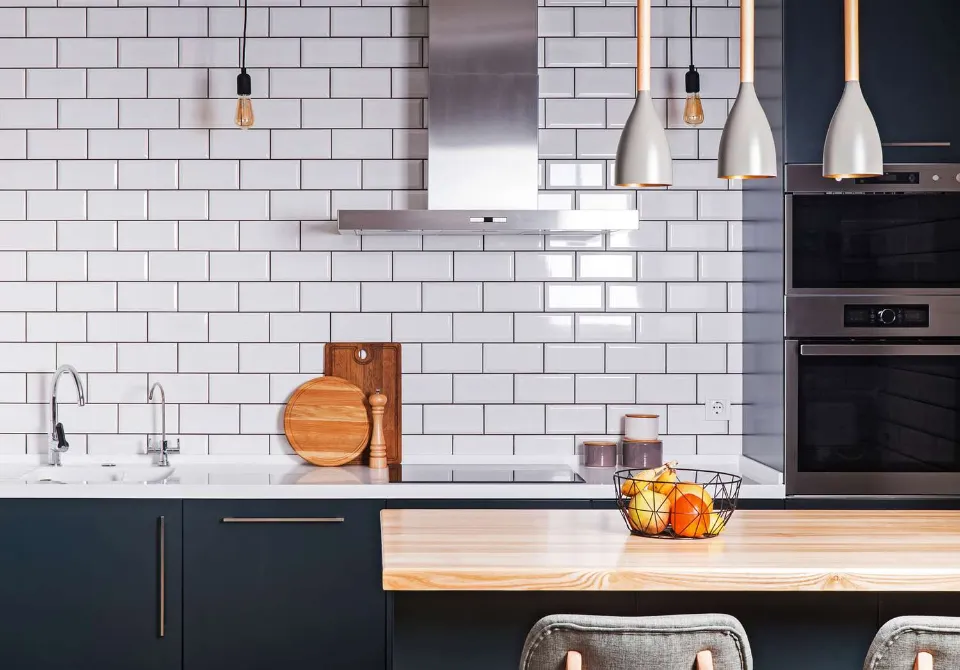
By using these steps, you can easily install backsplash tile on your own. You can create a beautiful backsplash design for your kitchen or bathroom with the right tools and careful attention to detail.
You will be guided through each essential step of installing a subway tile backsplash by these suggestions. Don’t be intimidated by the fact that it requires a few specialized tools. You can finish the project in a weekend or two with some practice, planning, and patience.
FAQs
Where Do You Start When Tiling a Backsplash?
Your tile backsplash should never start at the end. This will make the entire project look uneven and leave all of your smaller cuts for one area, which can appear sloppy. By starting in the center of a wall or a focal point, you will be able to better manage tile placement for a cleaner and more professional look.
Can You Tile Directly on Drywall for Backsplash?
As long as your wall is smooth and flat, you can install a ceramic tile kitchen backsplash directly over drywall or plaster with no problem. Thin-set adhesive should then be applied before setting the tile after thoroughly cleaning the wall to get rid of any grease. After the adhesive has set, apply grout, and you’re done.