
Here are some tips on how to skim-coat walls and when it’s appropriate to do so.
Surface flaws on walls, like paint chips or shallow gouges in the drywall, can appear over time. If you believe that you will need to replace the drywall, you might be pleasantly surprised to learn that skim coating your walls is a quick, less expensive wall fix.
Skim coating can be a cheap DIY project to restore the new appearance of your interior if the right equipment, materials, and techniques are used. We’ll walk you through a few simple steps on how to use a roller to skim-coat walls.
Skim Coat Application Methods
There are three methods to skim-coat your walls:
Paint Roller
A common method of applying drywall compound is by rolling it onto the surface with a paint roller cover and frame. The drywall compound applies quickly and requires little cleanup.
Drywall Knife
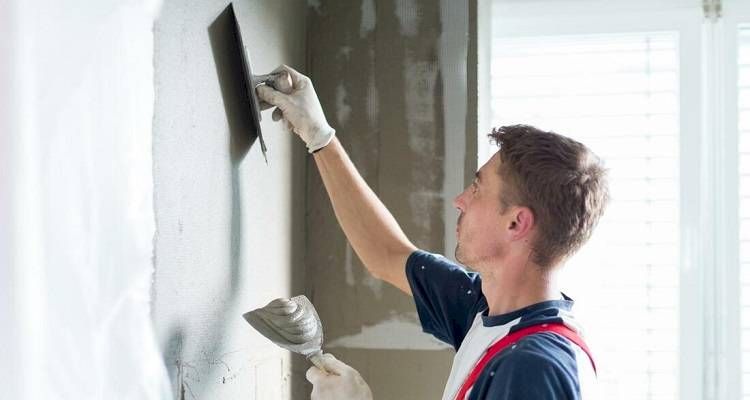
The drywall knife, which is always used to smooth down the drywall compound for skim coating, can also be used in earlier steps to apply the compound to the surface. Your tool purchases can be minimized as a result, which is advantageous. The application is laborious and slow, which is a drawback.
Texture Sprayer
Using a sprayer to apply drywall compound to the wall is the quickest and easiest method. You’ll need to hire a texture sprayer because you can’t just use a regular paint sprayer. The drywall compound is finished after spraying it on in the same manner as roller or drywall knife application; see steps 4 through 6 below.
You Might Also Like:
- Can Rats Climb Walls: How To Stop Them
- What Is The Best Insulation For Exterior Walls?
- Can You Wallpaper Over Wallpaper?
- How to Remove Mold from Inside Walls?
Before You Begin
A smooth outcome depends on proper skim coating preparation. So, before skim coating, you must prime the wall. Any loose paper on the drywall that you are covering will also be sealed by priming. Prior to starting the skimming process, apply one to two thin coats of the appropriate primer to the wall.
Equipment / Tools
- 12-inch drywall knife
- Drywall mud pan
- The 9-inch paint roller cover
- Paint roller frame
- Paint roller extension pole, 4- to 8-foot range
- Fine-grit drywall sanding screen
- 5-gallon bucket
- Paint rolling screen for the bucket
Materials
- Lightweight all-purpose drywall compound
- Clean water
- Painter’s tape
Step-By-Step Instructions
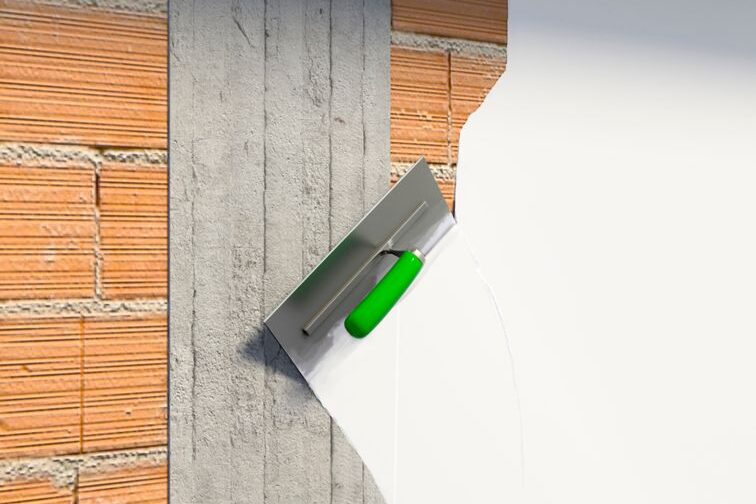
Using a special squeegee knife, apply a skim coat of mud to smooth over uneven or damaged walls. It is simple to complete and produces excellent results.
Prepare the Work Area
Sparsely skim-coating areas should be covered. Turn off the electricity going to the switches and outlets. Faceplates should be taken off before applying painter’s tape to outlets or light switches. Tape drop cloths to the baseboard of the wall after laying them out.
Mix the Drywall Compound
Apply a light-body drywall compound. Heavy body compound is not required as it serves essentially no structural function. Lightweight mud is also simpler to sand smooth.
In accordance with the mix ratio specified in the product instructions, mix the drywall compound. In order to create a heavier, stickier product, it is frequently preferable to slightly shorten the water. This strengthens the skim coat and makes application easier. To achieve a stiff, yogurt-like consistency, combine.
Tip:
Determine the necessary amount of water for drywall compound mixing by consulting the product’s manufacturer’s instructions. In a bucket or mixing container, add the compound to the water after adding just a little less water than is required.
If more water is required after mixing, add it. For a lump-free mixture, adding the compound to the water gradually is preferable to adding the entire amount of water at once.
Roll Out the Drywall Compound
2 feet by 8 feet section is rolled out. To force bubbles out of the wall, press the roller firmly into the surface. The amount of drywall compound applied to the wall, the temperature inside, and the airflow all affect how long it takes to finish.
To avoid having the drywall compound dry out on you, it is always preferable to keep smaller working areas.
Make sure the drywall compound is applied evenly all over the surface. The process will be simpler if you apply the drywall compound consistently, even though it does get scraped off because inconsistent compound dries at different rates.
Skim the First Section
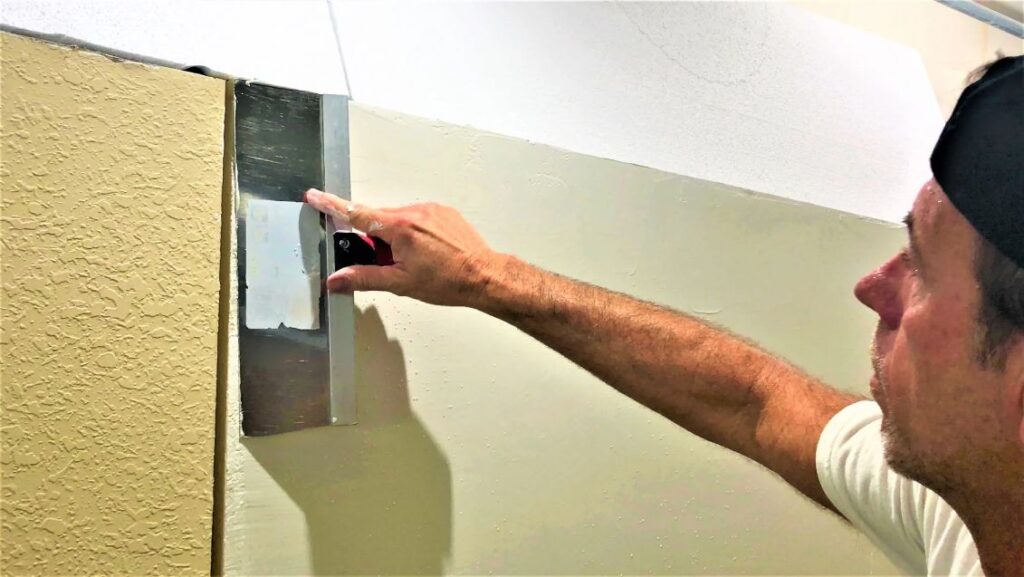
Use the 12-inch knife to scrape the drywall compound off. Scrape either upward or downward in columns, pressing slightly harder on the left than the right side of the knife. This smooths out flaws on the left side but leaves a low ridge on the right side.
Tip:
Don’t use the knife with full force; doing so will result in too much drywall compound being removed, and you run the risk of gouging the wall with the knife’s corners. Fill the tray with any extra.
Skim the Rest of the Sections
Next to the first column, make a second pass. Favor left-side pressure once more. The ridge on the left is removed as a result. The drywall knife will handle the majority of the ridges if it overlaps. Less drywall sanding needs to be done later as a result.
Sand the Dried Skim Coat
Give the skim coat time to dry. It ought to dry in an hour or two. Using fine-grit drywall sandpaper, lightly sand the surface to complete.
Here is a video instruction for you:
What is Skim Coating?
Skim coating is a popular home improvement method that uses a thin layer of joint compound to repair damaged drywall to its original smooth surface or smooth out textured walls.
The knockdown or orange peel drywall finish textures can produce a shadowing effect, whereas the clean, smooth finish can let the true color of your paint come through. While there are many different methods and materials used in skim coating walls, the cost can be much lower than that of more extensive renovations.
When Should I Apply a Skim Coat?
Skim coat application is fairly simple to perform on your own, but you must first be able to determine when such a procedure is necessary. We can simplify the process with your assistance. Choosing a skim coat makes sense in the following four situations.
- Fixing damage from wallpaper – Wallpaper removal frequently results in gouges or tearing off of the outer paper on the drywall, which causes damage to the wall behind it. These flaws are easily remedied by a skim coat.
- Retexturing after a drywall repair – A skim coat is frequently applied after a repair to prepare the wall for paint or texture.
- Touching up old or unsightly walls – A skim coat is a fantastic way to restore the like-new appearance of walls without completely replacing them. Walls can take a beating over time.
- Installing new drywall – In order to ensure a uniform surface for priming or painting, new drywall should always be skim-coated, at least to a very thin extent if the wall isn’t going to be textured.
Alternatives to Skim-coating Walls
The best alternatives to skim-coating walls are:
- Wall lining paper.
- Filling and sanding.
- Plastering.
- Plasterboard.
- Your old walls should be sanded.
- Dabbing and dotting.
- Paint them.
Conclusion: Give Your Walls a Chic Update
Even inexperienced drywall workers can add skim coating to their skill set because it’s a fairly simple method for preparing worn or damaged walls for touchups.
A skim coat can also be applied to the ceiling. Nowadays, ceilings frequently have a knockdown-like skip trowel texture. This is simple to smooth over with a skim coat.
FAQs
Is It Hard to Skim Coat a Wall?
A hawk and trowel are likely used to skim-coat walls if you are an expert drywall taper or plasterer. If you use those tools as backups, we don’t anticipate that changing your mind. But if you’re a remodeler who does only occasional skim-coating to fix wrecked walls, you know it’s a tough skill to master.
Can I Skim a Wall Myself?
Skimming your walls is a full-on job, and you’ll need to make sure you’re prepared with your equipment, and happy with what you’re doing before getting started. Use our simple, step-by-step instructions to make skimming less stressful and to create the smooth, even, and crack-free walls of your dreams.
Can You Skim Coat An Entire Wall?
Skim coating an entire wall or room can completely change a space, though it can be labor-intensive.


